
romantic calendar cake design
Introduction
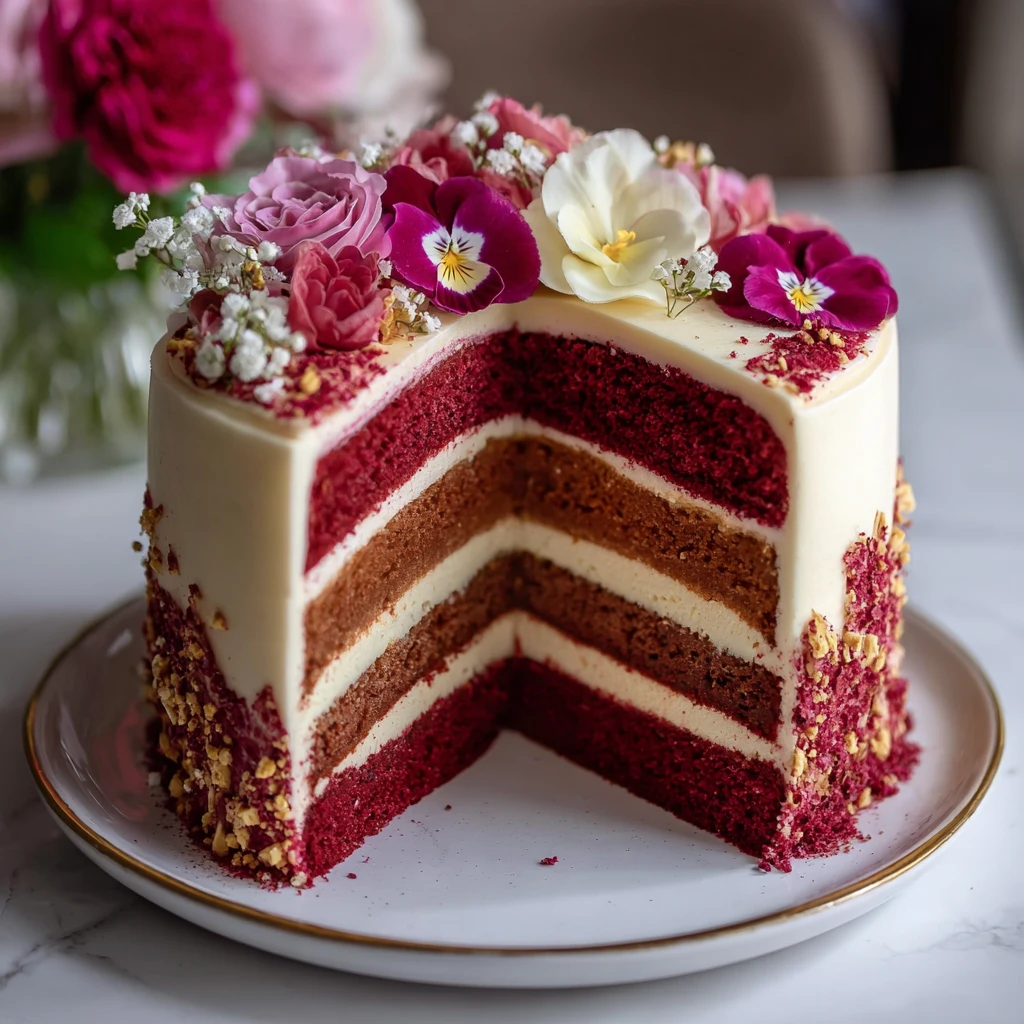
Imagine a calendar cake that not only marks special occasions but also captures the essence of romance in every bite. This unique cake design combines the beauty of a calendar with the sweetness of a delicious dessert, making it a perfect choice for celebrations with your loved ones. In this article, we will delve into the art of creating a romantic calendar cake that will not only tantalize your taste buds but also warm your heart.
As we explore the intricate details of this cake design, you will discover how each element symbolizes a special moment or memory shared between you and your significant other. From choosing meaningful dates to personalizing the decorations, every step of the process is infused with love and thoughtfulness.
Whether you are celebrating an anniversary, a birthday, or simply want to surprise your partner with a thoughtful gesture, the romantic calendar cake is sure to be a memorable addition to your special day. Join us on this culinary journey as we unlock the secrets to creating a truly enchanting dessert that speaks the language of love.
Get ready to embark on a baking adventure filled with creativity, passion, and, of course, a generous sprinkle of romance.
Why You’ll Love This Recipe
The romantic calendar cake design offers a unique way to celebrate special moments with your partner through a delicious and visually stunning dessert. Each slice tells a story, making it perfect for romantic occasions such as anniversaries, Valentine’s Day, or even marriage proposals.
One of the best features of this recipe is its versatility. You can customize the calendar dates to match your significant milestones, making each cake a truly personal creation. Additionally, the process of designing and decorating the cake provides a wonderful opportunity for creative expression and bonding with your loved one.
Furthermore, this recipe can be adapted to suit various dietary preferences, allowing you to create a version that aligns with your and your partner’s tastes and needs. Whether you prefer a classic vanilla sponge or a decadent chocolate base, the romantic calendar cake can be tailored to your liking.
Prepare to be amazed by how a simple calendar cake can transform into a symbol of love and devotion, adding a touch of magic to any romantic occasion.
Ingredients
To create your own romantic calendar cake, you will need the following ingredients:
– Flour (all-purpose or cake flour) – Sugar – Eggs – Butter – Baking powder – Vanilla extract – Salt – Milk – Fondant (for decorating) – Food coloring (optional)
Feel free to personalize the flavor and color of your cake by experimenting with different extracts and food coloring options. You can also explore alternative ingredients to suit dietary restrictions or preferences, ensuring that your calendar cake is both delicious and tailored to your needs.
Step-by-Step Instructions
1. Preheat your oven and prepare your baking pans. 2. Cream the butter and sugar until light and fluffy. 3. Add the eggs one at a time, mixing well after each addition. 4. Sift together the dry ingredients (flour, baking powder, and salt). 5. Gradually add the dry ingredients to the wet mixture, alternating with milk. 6. Stir in the vanilla extract. 7. Divide the batter into equal portions and bake according to your recipe. 8. Allow the cakes to cool completely before assembling and decorating.
When designing the calendar on your cake, use fondant to create the numbers and decorations for each date. You can also add edible flowers, sprinkles, or other embellishments to enhance the romantic theme of the cake. Take your time to ensure each detail is perfect, as this cake is a true labor of love.
Expert Tips for Success
– Use a serrated knife to level your cake layers for a professional finish. – Chill your cake layers before assembling to make the process easier. – Work with fondant in a cool, dry environment to prevent sticking. – Experiment with different color palettes to create a visually appealing design. – Practice piping techniques to add intricate details to your cake.
Variations and Substitutions
For a twist on the classic calendar cake design, consider the following variations:
– Use different shapes for your cake layers, such as hearts or ovals. – Incorporate flavored syrups or fillings between the layers for added moisture and flavor. – Experiment with embossed patterns or textures on the fondant for a unique look. – Try a dairy-free or gluten-free recipe by substituting ingredients accordingly.
Feel free to get creative and make this recipe your own by adding personal touches and experimenting with new ideas. The possibilities are endless when it comes to designing a romantic calendar cake that reflects your unique style and preferences.
Serving Suggestions
To complement the romantic calendar cake, consider serving it with a side of freshly whipped cream or a scoop of your favorite ice cream. Pair this delightful dessert with a glass of champagne or a fragrant cup of tea to elevate the dining experience and create a truly memorable moment with your loved one.
For a special touch, decorate the serving platter with fresh flowers, candles, or handwritten love notes to enhance the romantic ambiance and make your celebration even more enchanting. Don’t forget to capture this sweet moment with a photo to cherish the memories for years to come.
FAQs
Q: Can I make the cake layers in advance and freeze them for later use? A: Yes, you can bake the cake layers ahead of time, allow them to cool completely, wrap them tightly in plastic wrap, and freeze them for up to a month. Thaw the layers in the refrigerator overnight before assembling the cake.
Q: How far in advance can I decorate the calendar cake? A: It is best to decorate the cake on the day you plan to serve it to ensure that the fondant decorations remain fresh and vibrant. If you need to prepare certain elements in advance, store them in an airtight container at room temperature away from direct sunlight.
Q: Can I use store-bought fondant for decorating the cake? A: Yes, you can use store-bought fondant for convenience. However, homemade fondant allows for more customization in terms of flavor and color. If using store-bought fondant, knead it well before rolling it out to achieve a smooth texture.
Q: How long will the romantic calendar cake stay fresh? A: The cake layers will stay fresh for 2-3 days when stored in an airtight container at room temperature. Once assembled and decorated, the cake is best enjoyed within 1-2 days for optimal taste and texture.
Final Thoughts
Creating a romantic calendar cake is not just about baking a dessert; it’s about crafting a meaningful experience for you and your partner to share. From the initial brainstorming of significant dates to the final decoration of the cake, every moment spent on this recipe is an opportunity to express your love and appreciation.
So, gather your ingredients, roll up your sleeves, and embark on this culinary journey filled with creativity, passion, and, most importantly, love. Let the romantic calendar cake be a sweet reminder of the beautiful moments you’ve shared and the many more memories yet to come.
Celebrate love, celebrate life, and celebrate each other with a slice of this enchanting cake that speaks volumes without saying a word. Here’s to many more years of sweetness and joy with your special someone by your side.
romantic calendar cake design
Celebrate special moments with your loved one by creating a unique and romantic calendar cake. This visually stunning dessert is not only delicious but also holds sentimental value with each date symbolizing a cherished memory. Perfect for romantic occasions, anniversaries, or declarations of love.
Ingredients
-
2 cups Flour (all-purpose or cake flour)
-
1 cup Sugar
-
3 Eggs
-
1 cup Butter
-
2 tsp Baking powder
-
1 tsp Vanilla extract
-
1/2 tsp Salt
-
1 cup Milk
-
Fondant (for decorating)
-
Food coloring (optional)
Directions
-
Preheat your oven and prepare your baking pans.
-
Cream the butter and sugar until light and fluffy.
-
Add the eggs one at a time, mixing well after each addition.
-
Sift together the dry ingredients (flour, baking powder, and salt).
-
Gradually add the dry ingredients to the wet mixture, alternating with milk.
-
Stir in the vanilla extract.
-
Divide the batter into equal portions and bake according to your recipe.
-
Allow the cakes to cool completely before assembling and decorating.
-
When designing the calendar on your cake, use fondant to create the numbers and decorations for each date.
-
Add edible flowers, sprinkles, or other embellishments to enhance the romantic theme of the cake.